

SFS2X Docs / ExamplesGodot / shooter
» Shooter
» Overview
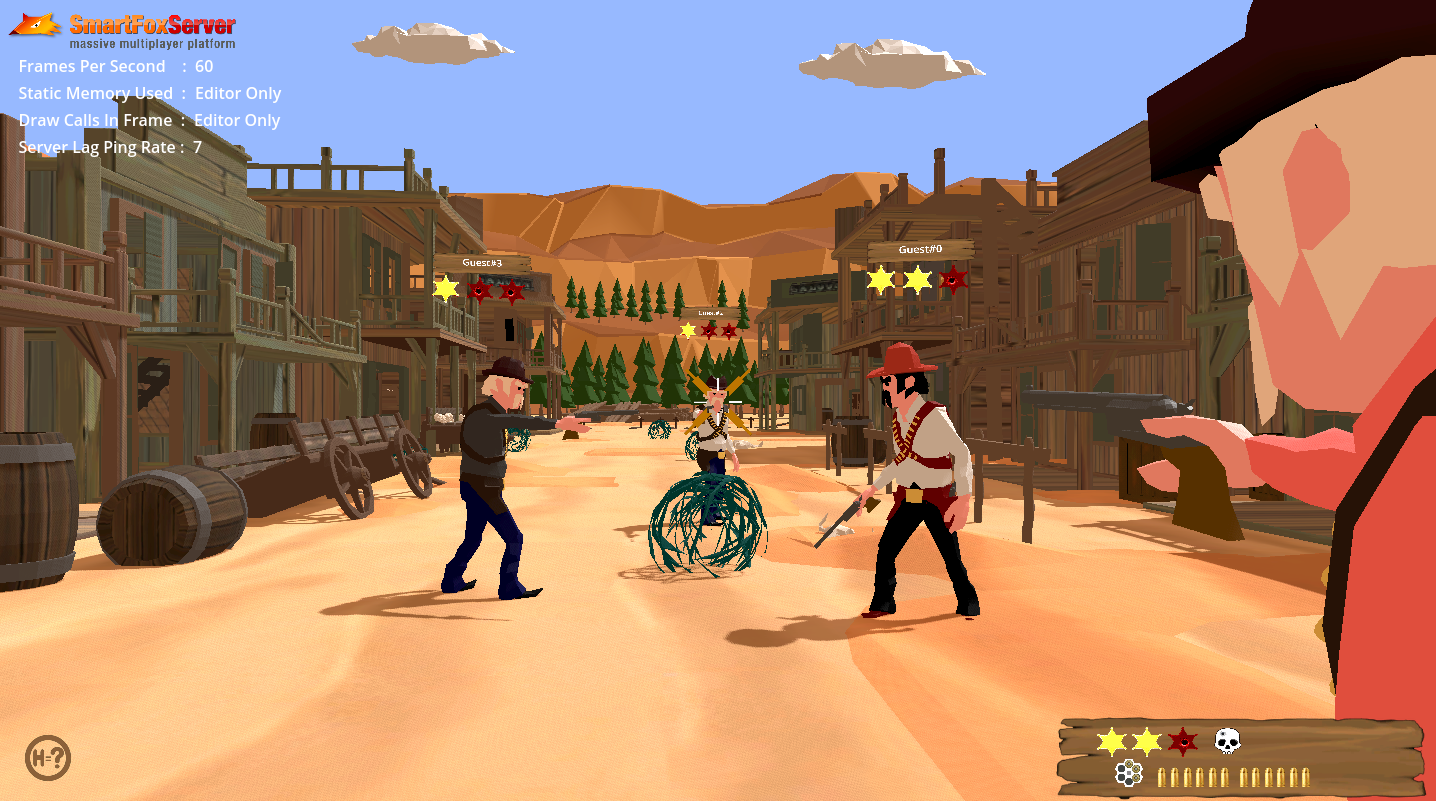
The Shooter example shows how to develop a full multiplayer first/third person combat game with Godot 4.x and SmartFoxServer 2X. The game utilizes SmartFoxServer 2X's ability to mix TCP and UDP based messaging, and makes full use of SmartFoxServer's Lag Monitor.
TCP is the most common protocol deployed on the Internet. Its dominance is explained by the fact that TCP performs error correction. When TCP is used, there is an assurance of delivery. This is accomplished through a number of characteristics including ordered data transfer, retransmission, flow control and congestion control. During the delivery process, packet data may collide and be lost, however TCP ensures that all packet data is received by re-sending requests until the complete package is successfully delivered.
UDP is also commonly found on the Internet. However UDP is not used to deliver critical information, as it forgoes the data checking and flow control found in TCP. For this reason, UDP is significantly faster and more efficient, although, it cannot be relied on to reach its destination.
In this example, all critical game information between the server and client are sent via TCP for reliable delivery. This could be shooting for example, or animation sync, damage messages, etc. On the other hand, sending updates to the players Transform, which is continuously sent by and to all clients, is executed using UDP.
The example scene features a simple lobby and multiple games which can run at the same time as individual arenas. We have built this example with Godot 4.2, but it is also compatible with other 4.x versions. This example was ported from its Unity counterpart. However, the Character Transform is different than the Unity example, and although the server-side code is the same, a Unity built client cannot play the same game as a Godot built client.
You can find further details on each of the components in this example on the Godot Documentation website.
>> DOWNLOAD the source files <<
» Setup & run
In order to setup and run the example, follow these steps:
- unzip the examples package;
- launch Godot, click on the Import button and navigate to the SFS_Shooter_GD4 folder
- click the Build button in the top right corner of the Godot editor before running the example.
The client's C# code is in the Godot project's res://scripts folder, while the SmartFoxServer 2X client API DLLs are in the res:// folder.
» Server-side Extension
This example features a server-side Java Extension, and the game client expects it to be deployed in order to run properly.
To deploy the Java Extension, copy the Shooter/ folder from SFS2X-Shooter-Ext/deploy/ to your current SFS2X installation under SFS2X/extensions/.
The source code of the java Extension is provided under the SFS2X-Shooter-Ext/Java/src folder. You can create and setup a new project in your Java IDE of choice as described in the Writing the first Java Extension document of the Java Extensions Development section. Copy the content of the SFS2X-Shooter-Ext/Java/src folder to your Java project' source folder.
» Introduction to code
» Client code
This example is not meant to be a tutorial on how to write a 3rd person shooter in Godot. It is designed to showcase the features of SmartFoxServer, and how to utilize TCP and UDP in the same project. However, this example is extensive and could be used as the basis of a 1st or 3rd person multiplayer game and as such, we will cover the main components of the Client code, but more specifically, how they relate to the Server Extension.
The main components in the client project are found in the Scripts folder. They are as follows:
- The GameManager is the main component that is attached to the Game scene. The main configurable variables are presented in the Inspector, including Player Model selection, Player Model Colors, and UI elements.
- The CharacterTransform is used to position the characters in the world simulation, including character rotation, and weapon aiming. The local player sends this transform object to the server script, which in turn it is propagated to other players for synchronization.
- The Player script is utilized in each of the player scenes. It controls movement, animations, for the local character, and positioning and animations are synchronized for the remote characters.
» Server code
The Java Extension includes Handlers to communicate with the client, and Simulation code to handle the player transforms and positions within the world simulation. This means that the world simulation runs on the server side, and all clients have a representative simulation running on their system. Clients communicate with the game code on the server side via extension requests and gets data back via extension response. The data that is sent and received using SFSObjects, which are highly optimized dataobjects that can be nested. The main sections in the server code are as follows:
- The Shooter Extension main class is used to handle requests from clients and send messages back to them. All communication is done with json objects
- The Shooter Utils includes the Room Helper and User Helper, which handle the Room/Zone responses and User response respectively.
- The Shooter Handlers send and receive Objects to and from the client. These include the transform itself, as well as the spawning, shooting, and animations.
- The World Simulation includes code to control the Player transforms, spawned Items, Weapon shooting, loading, and reloading, and Game Variables.
» Client code details
The code for this example utilizes the Logon and Lobby classes from the Lobby:Basic example. The Logon is the default scene and in the root folder and the Lobby and Game scenes can be found in the /Scenes folder. The player scene and prefab scenes such as the pistol, health, and ammo boxes, are in the /PrefabScenes folder.
This example will run without any changes. However, it is easily configured for whatever form your game may take. Most changes can be done in the Godot Inspector Panel form each scene, such as different characters, colors, and UI elements.
The main components, as they relate to the server extension and why each is required, are detailed below. Further information on how to configure this example, using custom characters, custom weapons, etc., are explained in the linked video tutorials.
» GameManager script
Once the player has logged in and either started or joined a game, the Game Manager calls the method SendSpawnRequest. This method selects a random Character Prefab from however many have been added to the Game Manager in the Godot Inspector panel. A random color is also selected, and this will be applied to the first material on the model, which in our case is the shirt. The prefab number (int) and selected color (int) are placed in an SFS Object, and sent to the server Extension as a spawnMe request.
		public void SendSpawnRequest()
		{
			var random1 = new Random();
			int colors1 = random1.Next(0, colorarray.Length);
			var random2 = new Random();
			int prefab1 = random2.Next(0, PlayerScene.Length);
			Room room = sfs.LastJoinedRoom;
			ISFSObject data = new SFSObject();
			data.PutInt("prefab", prefab1);
			data.PutInt("color", colors1);
			ExtensionRequest request = new ExtensionRequest("spawnMe", data, room);
			sfs.Send(request);
		}
A similar format and structure is used for all other client requests sent to the Server Extension, SendShot, SendReload, SendAnimationState, etc. Once the request has been processed by the Server Extension (discussed in the Server code details section below), an Extension response is broadcast to all players and is handled by the following method in the Game Manager
	private void OnExtensionResponse(BaseEvent evt)
	{
		string cmd = (string)evt.Params["cmd"];
		ISFSObject sfsobject = (SFSObject)evt.Params["params"];
		switch (cmd)
		{
		case "spawnPlayer":
			{
				HandleInstantiatePlayer(sfsobject);
			}
			break;
				etc.
This will then call the corresponding method, in this case we call HandleInstantiatePlayer and pass the sfsobject. This method will expand the sfsobject, which includes the userid, current score, prefab identifier, and color. If the userid is the local player, we instantiate the player character setting isPlayer = true.
		private void HandleInstantiatePlayer(ISFSObject sfsobject)
		{
			ISFSObject playerData = sfsobject.GetSFSObject("player");
			int userId = playerData.GetInt("id");
			int score = playerData.GetInt("score");
			int prefab = playerData.GetInt("prefab");
			int colors = playerData.GetInt("color");
			CharacterTransform chtransform = CharacterTransform.FromSFSObject(playerData);
			RandomNumberGenerator _rng = new RandomNumberGenerator();

			User user = sfs.UserManager.GetUserById(userId);
			string name = user.Name;
			if (userId == sfs.MySelf.Id && !playerRespawn)
			{
				player localplayer = (player)PlayerScene[prefab].Instantiate();
				localplayer.isPlayer = true;
				localplayer.Visible = false;
				Vector3 value = chtransform.Position;
				float x = value.X + _rng.RandfRange(-2.0f, 2.0f);
				float y = value.Y;
				float z = value.Z + _rng.RandfRange(-2.0f, 2.0f);
				localplayer.Position = new Vector3(x, y, z);
				localplayer.Rotation = chtransform.AngleRotationFPS;
				localplayer.Name = "LocalPlayer";
				localplayer.userid = userId;
				recipients[userId] = localplayer.Name;
				playerHealth = healthStars.Length;
				AddChild(localplayer);
				PlayerVisible(localplayer, colors);
				etc.
If the userid is not the players, the Game Manager will instantiate a prefab as a remote character, and set isPlayer = false. It the NetworkSyncMode chosen is Complex in the GameManager, the SyncCharacter method in the Player script will use Interpolation for the position and rotation of remote characters.
Each of the actions are handled in a similar way. For example, when the player Shoots, a SendShot request containing the Target is forwarded to the Extension. The response received calls HandShotFired. which processes the animation and audio. The target is raycast by the client, but the other calculations such as ammunition count, wounding, kill, etc, are done by the Extension. A targeting system could be built for the Server Extension, but it would to take into account all GameObjects in the scene, including buildings and props. This is currently outside the scope of this example.
» CharacterTransform script
This script is used to build an SFS Object containing the Character Position, Rotation, and Aim Rotation Vectors. The x,y,z from each Vector3 is extracted into a Double, and a time stamp is added. This script also acts in the reverse, building Vector3's from the SFS Object. These are then used for Character positioning in the world simulation, as well as the Interpolation code.
		public void ToSFSObject(ISFSObject data)
		{
			ISFSObject tr = new SFSObject();
			tr.PutDouble("x", Convert.ToDouble(this.position.X));
			tr.PutDouble("y", Convert.ToDouble(this.position.Y));
			tr.PutDouble("z", Convert.ToDouble(this.position.Z));
			tr.PutDouble("rx", Convert.ToDouble(this.angleRotation.X));
			tr.PutDouble("ry", Convert.ToDouble(this.angleRotation.Y));
			tr.PutDouble("rz", Convert.ToDouble(this.angleRotation.Z));
			tr.PutDouble("srx", Convert.ToDouble(this.spineRotation.X));
			tr.PutDouble("sry", Convert.ToDouble(this.spineRotation.Y));
			tr.PutDouble("srz", Convert.ToDouble(this.spineRotation.Z));
			tr.PutLong("t", Convert.ToInt64(this.timeStamp));
			data.PutSFSObject("transform", tr);
		}
This is actioned every frame when the Player's _PhysicsProcess loop calls SendTransform in the GameManager. However, it does not send an Transform to the Server Extension every frame, as it checks the time the last is update is sent (sendingPeriod). This is currently set to 0.03, which results in 30 updates per second, or every second frame on a game running at 60 frames per second. While this may seem a lot to some, these updates are sent using UDP.
		if (isPlayer)
		{
			if (timeLastSending >= sendingPeriod)
			{
				var trans = GetNode<Node3D≶("Visuals");
				var aimer = GetNode<Node3D≶("CameraMount/SpringArm3D/Camera3D/AimTarget/AimSphere");
				var agp = aimer.GlobalPosition;
				gm.lastState = CharacterTransform.FromTransform(this.Transform, trans.Transform, agp);
				gm.SendTransform();
				timeLastSending = 0;
			}
			timeLastSending += delta;
		}
}
If the timing is correct, we pass both the Character Transform (Position and Rotation) and the Aim Vector (Rotation) to the SendTransform method in the GameManager.
		public void SendTransform()
		{
			Room room = sfs.LastJoinedRoom;
			ISFSObject data = new SFSObject();
			lastState.ToSFSObject(data);
			ExtensionRequest request = new ExtensionRequest("sendTransform", data, room, true); // True flag = UDP
			sfs.Send(request);
		}
As shown above, UPD is set by coding true on the Extension send request in the SendTransform method.
If the NetworkSyncMode:Complex is selected in the Game Manager, the SyncCharacter method will be called for remote characters. As describe in the code comments, we buffer 30 copies of the transform received (position and rotation) and using the SFS Lag Monitor, we calculate how far back we go within the buffer to compensate for any network lag.
		double currentTime = NetworkTime;
		double interpolationTime = currentTime - interpolationBackTime;
		if (bufferedStates[0].TimeStamp > interpolationTime)
		{
			for (int i = 0; i < statesCount; i++)
			{
				if (bufferedStates[i].TimeStamp <= interpolationTime || i == statesCount - 1)
				{
					rhs = bufferedStates[Mathf.Max(i - 1, 0)];
					lhs = bufferedStates[i];
					double length = rhs.TimeStamp - lhs.TimeStamp;
					float t = 0.0F;
					if (length > 0.0001)
					{
						t = (float)((interpolationTime - lhs.TimeStamp) / length);
					}
					else
					{
						t = (float)Mathf.Clamp(_elapsedTime / duration, 0.0f, 1.0f);
					}
					this.GlobalRotation = new Vector3(0, rhs.AngleRotation.Y, 0);
					Vector3 targetPosition = rhs.Position;
					float distance = GlobalTransform.Origin.DistanceTo(targetPosition);
					if (distance > 0)
					{
						Vector3 direction = (targetPosition - GlobalTransform.Origin).Normalized();
						GlobalTransform = new Transform3D(GlobalTransform.Basis, GlobalTransform.Origin + direction * Mathf.Min(distance, SPEED * t));
					}
					return;
				}
			}
		}
For a description on network Lag, see the documentation for the Space War example under the heading, The lag problem. If the NetworkSyncMode:Simple is selected, we simply move the position of the character. This is good for when the Server is running on the local machine, and no Lag is apparent.
		if (!isPlayer)
		{

			if (gm.networkSync == NetworkSync.Simple)
			{
				this.GlobalRotation = new Vector3(0, newRotation.Y, 0);
				Vector3 targetPosition = newPosition.Origin;
				float distance = GlobalTransform.Origin.DistanceTo(targetPosition);
				if (distance > 0)
				{
					Vector3 direction = (targetPosition - GlobalTransform.Origin).Normalized();
					GlobalTransform = new Transform3D(GlobalTransform.Basis, GlobalTransform.Origin + direction * Mathf.Min(distance, SPEED * (float)delta));
				}
			}
			else if (gm.networkSync == NetworkSync.Complex)
			{
				SyncCharacter();
			}
» Player script
This script is used for both local player character and to each remote character. It controls movement, animation, and if the character is the local player, it accepts the input from the input asset, sending the Extension request to the Game Manager. For the local player character, this script also controls the camera position. The script is structured in a way that it is simple to see what does what. The code is commented and regions are used to expand each section.
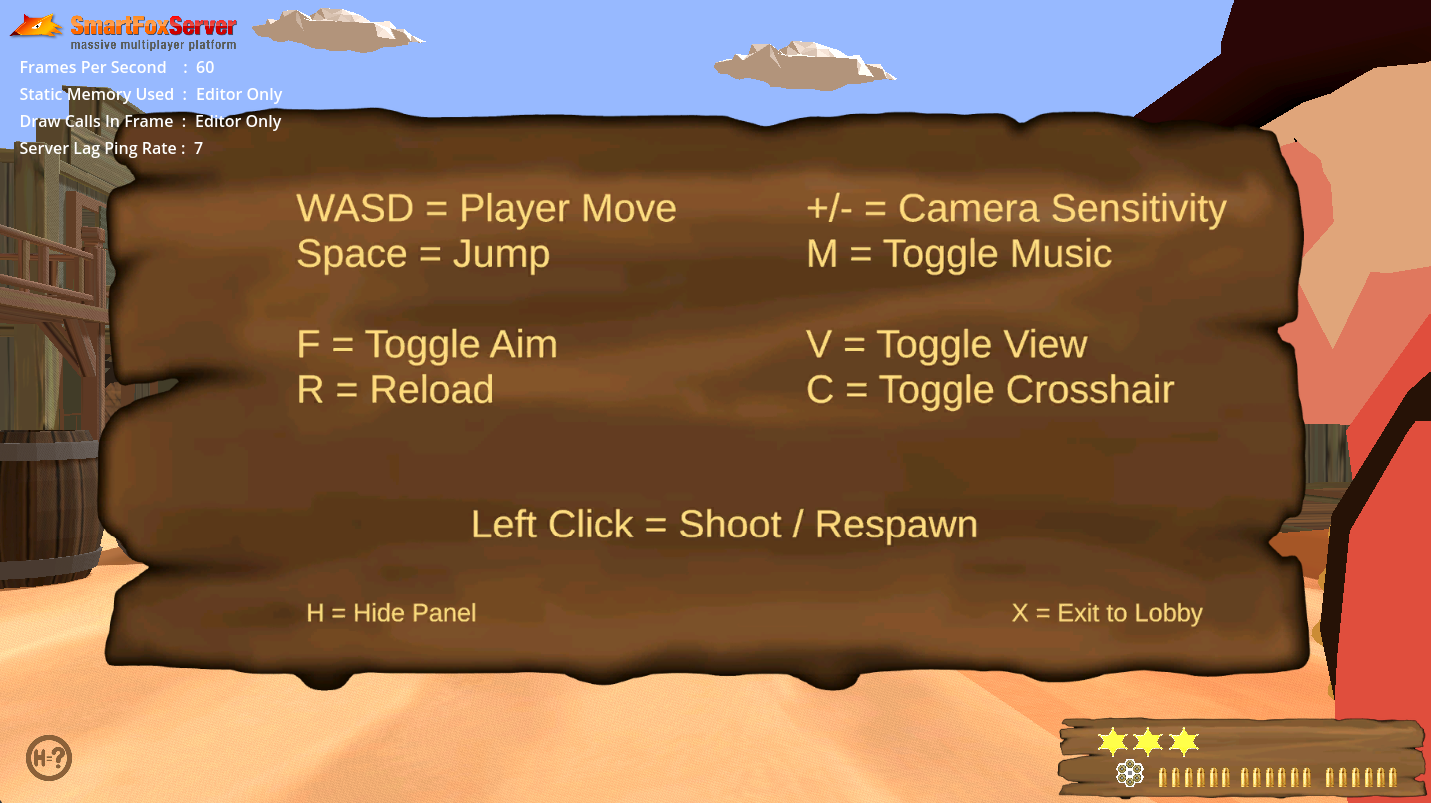
Most Input Keys are set to Toggle. For example, pressing F will activate the Aiming animation, and pressing it again, will end the Aiming animation. Pressing V will cycle through the Camera views, as pressing C will cycle through the added crosshairs. The H key is currently configured to show you these on the Help Panel.
» Server code details
SFS2X supports extension communication using both UDP and TCP. For a shooter it is best to have the fastest possible transformation synchronization possible, while at the same time not missing displaying animations or having an up to date health status. UDP while fast and small is also unreliable, and thus one has to use it selectively.
UDP is used for sending transforms, and TCP for sending everything else (animation synchronizations, health updates, shot messages, etc). Missing a few transforms using UDP will not be vital for the game, as they are being sent many times per second and the game clients will interpolate movement to smooth out anything that is missed.
The sending of UDP messages is very simple. When sending the ExtensionRequest, you simply add a “true” boolean as parameter, and the given request is sent via UDP, as shown in the Client code above.
» World simulation model
The primary part of the server extension is the world simulation. Shown below is a data object representation of what is going on inside the game world. The objects and their relationships can be seen in the following diagram. It also contains some of the primary attributes and methods on each class.

The World itself contains a list of players and a list of the items that are spawned in the world. Each Item has a type (HealthPack or Ammo) as well as a Transform for its position in the world. Each CombatPlayer is linked to a SFS2X User, so we can relate a given network command to the specific CombatPlayer in the simulation. Each player has a Weapon that can be fired, a Transform for where they are located in the simulation, as well as attributes for score, health and weapons containing ammo counts and methods to reload, shoot etc.
The Transform class has 2 primary methods to transform itself to and from an SFSObject. These are the SFSObjects sent back and forth between the clients and the server. Basically any extension request (e.g. a player spawn) will change this world simulation model.
» Extension communication
As discussed above in the Client code details section, clients communicate with the server-side Extension by sending requests and get data back via Extension responses. This model is simple but flexible. The data that is sent or received uses SFSObjects. This is best illustrated with an example.
Shooting: When the player in the game client wants to shoot, in this example they press the left mouse button (although this can be changed in the Input settings). The Player calls OnShoot, and does some initial checks.
For this example, we RayCast from the centre of the screen on the Client, looking for an Object with a Node name in the remotePlayer group. If the RaycastHit returns the value of another Player, their userid is passed as a parameter. If not, we place a random 99999 in the Target value. This could in fact be any number that would be used as a userid, but it cannot be null.
		private void OnShoot()
		{
			if (!dead)
			{
				int target;
				target = 99999;
				if (this.rayCastShoot.IsColliding())
				{
					var collision = this.rayCastShoot.GetCollider();
					var collsionid = collision.GetInstanceId();
					foreach (Node3D n in GetTree().GetNodesInGroup("remotePlayer"))
					{
						if (n.GetInstanceId() == collsionid)
						{
							String hitname = n.Name.ToString();
							player remoteplayer = (player)GetNode("../" + hitname);
							target = remoteplayer.userid;
							break;
						}
					}
				}
				gm.SendShot(target);
			}
		}
This request is passed to GameManager to SendShot to the server Extension.
		public void SendShot(int target)
		{
			Room room = sfs.LastJoinedRoom;
			ISFSObject data = new SFSObject();
			data.PutInt("target", target);
			ExtensionRequest request = new ExtensionRequest("shot", data, room);
			sfs.Send(request);
		}
On the server side we will receive this request in the ShooterExtension class. This is the main entry point for all client communication on the server side. When this class was initialized, it registered to listen for shot commands. When any are received, they are handled in the ShotHandler class, which tells the World that a given user requested to shoot his weapon
public class ShotHandler extends BaseClientRequestHandler {
	@Override
	public void handleClientRequest(User u, ISFSObject data) {
		int enemyHit = data.getInt("target").intValue();
		RoomHelper.getWorld(this).processShot(u, enemyHit);
	}
}
The code in the World class now converts the SFSUser to the CombatPlayer object associated with it. It does checks to see if the given CombatPlayer is dead, has ammo, has ammo loaded. Then it tells the weapon to shoot. The method now handles the result of the shooting. We need to send information back to the user who fired the weapon that the ammo count changed and notify other players in the simulation that the given player fired the weapon so they can run animations and play gun shot sfx.
	public void processShot(User fromUser, int enemyHit)
	{
		CombatPlayer player = getPlayer(fromUser);
		if (player.isDead())
			return;
		if (player.getWeapon().getAmmoCount() <= 0)
			return;
		if (!player.getWeapon().isReadyToFire())
			return;
		player.getWeapon().shoot();
		this.extension.clientUpdateAmmo(player);
		this.extension.clientEnemyShotFired(player);
		for (CombatPlayer pl : this.players)
		{
			if (pl != player)
				if (pl.getSfsUser().getId() == enemyHit)
				{
					playerHit(player, pl);
					return;
				}
		}
	}
If the enemyHit parameter matches a userid, we can process the playerHit code, by passing the Player object and the Player that was hit to the playerHit Method. We update Ammo on the Player and Health on the Player hit. If the Player that was has no more health, we process the Kill.
	private void playerHit(CombatPlayer fromPlayer, CombatPlayer pl)
	{
		pl.removeHealth(1);
		if (pl.isDead())
		{
			fromPlayer.addKillToScore();   // Adding frag to the player if he killed the enemy
			this.extension.updatePlayerScore(fromPlayer);
			this.extension.clientKillPlayer(pl, fromPlayer);
		}
		else
		{
			this.extension.clientUpdateHealth(pl);  // Updating the health of the hit enemy
		}
	}
The send() method on the Extension class sends back a response command and data to be send to client(s). In this case, we only send the ammo count back to the client that is connected to the given CombatPlayer that shot.
	public void clientUpdateAmmo(CombatPlayer player)
	{
		SFSObject sFSObject = new SFSObject();
		sFSObject.putInt("id", player.getSfsUser().getId());
		sFSObject.putInt("ammo", player.getWeapon().getAmmoCount());
		sFSObject.putInt("maxAmmo", 6);
		sFSObject.putInt("unloadedAmmo", player.getAmmoReserve());
		send("ammo", (ISFSObject)sFSObject, player.getSfsUser());
	 }
Back at the client, the OnExtensionResponse method will receive the Object and process what it received. For the ammo it will call HandleAmmoCountChange which will in turn update the local variables and in our example, update the User Interface.
		private void HandleAmmoCountChange(ISFSObject sfsobject)
		{
			int userId = sfsobject.GetInt("id");
			if (userId != sfs.MySelf.Id) return;
			int loadedAmmo = sfsobject.GetInt("ammo");
			int maxAmmo = sfsobject.GetInt("maxAmmo");
			int ammo = sfsobject.GetInt("unloadedAmmo");
		    for (int i = 0; i < loadedBullets.Length; i++)
			{
				loadedBullets[i].Visible = false;
			}
			for (int i = 0; i < loadedAmmo; i++)
			{
				loadedBullets[i].Visible = true;
			}
			for (int i = 0; i < unloadedBullets.Length; i++)
			{
				unloadedBullets[i].Visible = false;
			}
			for (int i = 0; i < ammo; i++)
			{
				unloadedBullets[i].Visible = true;
			}
		}
All other sent and received SFSObjects are basically handled in the same way. Everything from the Character Transform (position and rotation) to Items such as Health and Ammo boxes which are spawned, are all controlled by the server Extension, and data is sent to each client for processing.
» Hardcoded variables
Some variables must be changed on the server (hardcoded variables) if the client scene is changed. An example of this would be Spawn Vectors if the Game Objects such as Buildings and other solid objects are moved. Spawn points (number of and Vector3) for both characters and items are in the Transform.java script. Each array has 8 spawn points, but this can be changed depending on your needs.
	private static Transform[] getSpawnPoints()
	{
		Transform[] spawnPoints = new Transform[8];
		spawnPoints[0] = new Transform(-30.0D, 1.0D, 22.0D, 0.0D, 0.0D, 0.0D, 0.0D, 0.0D, 0.0D);
		spawnPoints[1] = new Transform(13.0D, 1.0D, 27.0D, 0.0D, 0.0D, 0.0D, 0.0D, 0.0D, 0.0D);
		spawnPoints[2] = new Transform(1.0D, 1.0D, -17.0D, 0.0D, 0.0D, 0.0D, 0.0D, 0.0D, 0.0D);
		spawnPoints[3] = new Transform(1.0D, 1.0D, 8.0D, 0.0D, 0.0D, 0.0D, 0.0D, 0.0D, 0.0D);
		spawnPoints[4] = new Transform(6.0D, 1.0D, 47.0D, 0.0D, 0.0D, 0.0D, 0.0D, 0.0D, 0.0D);
		spawnPoints[5] = new Transform(-5.0D, 1.0D, 47.0D, 0.0D, 0.0D, 0.0D, 0.0D, 0.0D, 0.0D);
		spawnPoints[6] = new Transform(0.0D, 1.0D, 24.0D, 0.0D, 0.0D, 0.0D, 0.0D, 0.0D, 0.0D);
		spawnPoints[7] = new Transform(0.0D, 1.0D, 37.0D, 0.0D, 0.0D, 0.0D, 0.0D, 0.0D, 0.0D);
		return spawnPoints;
	}
To avoid the spawning of character on top of each other if the random spawn point results in the same position, the character is instantiated a random value of -2 to +2 on the x and z axis, and this position is updated on the server by the client.
		var player = (player)PlayerScene[prefab].Instantiate();
		player.isPlayer = true;
		Vector3 value = chtransform.Position;
		var x = value.X + _rng.RandfRange(-2.0f, 2.0f);
		var y = value.Y;
		var z = value.Z + _rng.RandfRange(-2.0f, 2.0f);
		player.Position = new Vector3(x, y, z);
Other variables that are hard coded in the server Extension that may need to be changed depending on your Weapon, Health, and UI are as follows.
- CombatPlayer.java - maxHealth, maxAmmoReserve, defaultHit
- Weapon.java - maxAmmoLoaded, shotTime, reloadTime
- Item.java - touchDistance, shotTime, reloadTime
- World.java - worldBounds
» Possible enhancements
This example has several actions controlled and validated by the server Extension, but not all actions are. As mentioned earlier, the raycast of the aim and shoot is carried out on the client, and models such as buildings and props are not represented at all within the server scripts. A fully authoritive game server would account for everything in the Extension, and the client would only send the input commands and receive the resulting actions. This example is only suggests how all of this can be implemented. Future enhancements could be:
- The local player could be treated the same as a remote player with input being sent, and animations and movement being coded the same for the local character as is currently done for the remote characters. This would go further towards being fully authoritative.
- Bended animations could be added to an AnimationTree state machine. The inputs sent and received would need to be changed to accommodate this, as well as the server extension handling animation states.
- The raycast of aiming and shooting should be implemented on the server, but the world simulation would need to include buildings, props, and any other objects that may block the raycast.
- The propagation of game state could be further extended. For example, when a new player enters the game, the ammo and health boxes that were spawned when the first player entered, are not updated to the new player.
- Add a ragdoll effect for when the character dies, and include crouch animations in the character controller.
» More resources
You can learn more about the SmartFoxServer concepts discussed in this example by consulting the following resources: