SFS2X Docs / GettingStarted / installation
» SmartFoxServer 2X Installation
The installation of the SmartFoxServer 2X platform is a very simple operation that requires only a few steps. We recommend to review the system requirements and proceed consulting the specific installation guide for the operating system of your choice.
» System Requirements
SFS2X is a truly multi-platform solution supporting all major operating systems capable of running the Oracle/OpenJDK Java Virtual Machine (JVM). This includes Windows (all versions), Linux, macOS (10.8+) and other Unix variants.
In order to evaluate and develop with SFS2X you just need 64MB of free memory and a 1.0Ghz processor.
For production environments we recommend a machine with at least 512MB of physical RAM and a 2.0Ghz processor.
- Installing under Windows
- Installing under Linux
- Installing under macOS
- Installing under other Unix variants
A step-by-step video tutorial showing how to install SmartFoxServer is also available in our YouTube channel.

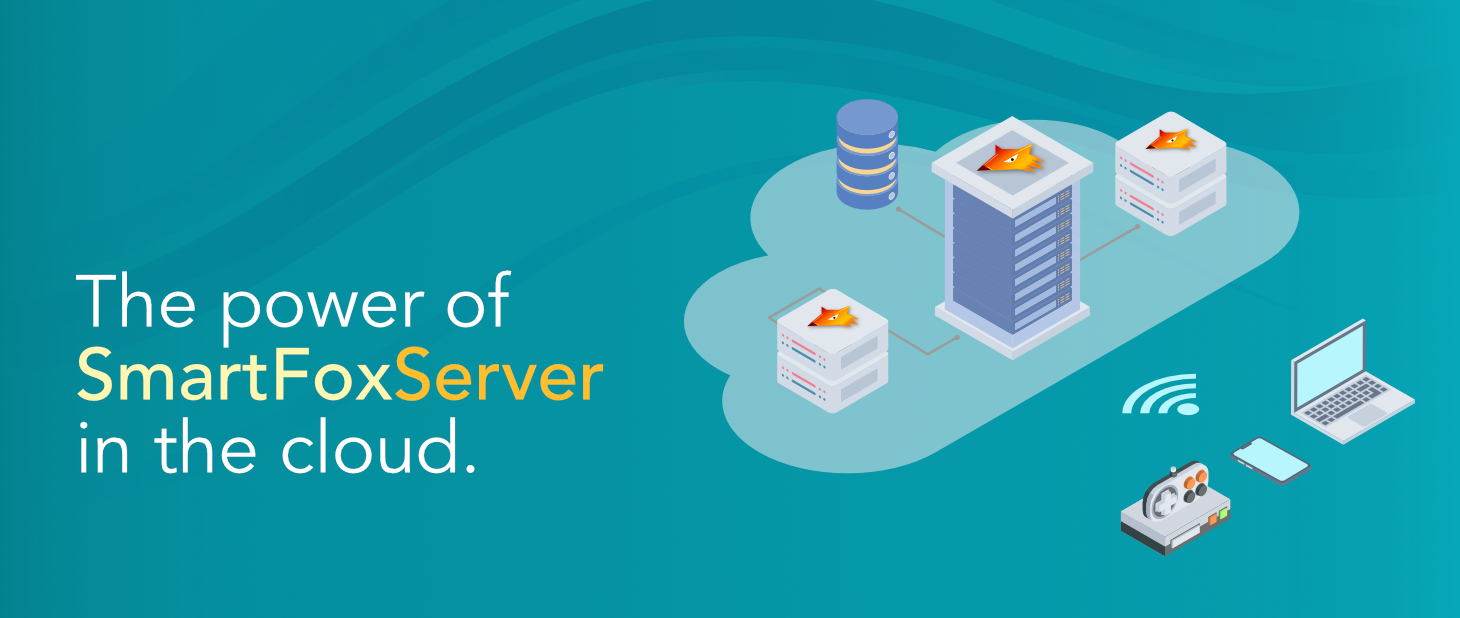
Also check Overcast, our dedicated cloud-based hosting service for SmartFoxServer that provides a complete stack to build and run rich multiplayer experiences at any scale.
With Overcast developers can deploy SmartFoxServer instances in the cloud, world-wide, with a simple web-based interface. Each instance runs in its dedicated server and provides 100% of the features. This means that developers can deploy and run their server-side Extensions, tweak the server settings to their needs, integrate other services and libraries, etc.
» Post-installation tasks
In order to begin your evaluation just start the server and point your browser to http://localhost:8080.
This will bring up the welcome page referencing the Administration Tool and some example applications.
» Configuration Migration
If you have a previous SmartFoxServer installation and you wish to migrate its setup we recommend this brief guide on how to migrate the settings from an older version.
» Local firewall settings
If you have any problems accessing the server we recommend to check your personal firewall settings and make sure that traffic for port TCP 9933 and port TCP 8080 is allowed in both directions (in/out).
» Exposing the server to the outside world
If your server/computer connects to the internet via a router you will need to setup port-forwarding, also known as NAT service, otherwise you can can skip this section entirely.
Setting up the NAT on your router allows to map the public IP address/port to the physical machine inside your network running SFS2X.
A specific step-by-step guide on how to configure your router cannot be provided here since each brand and model work in slightly different ways. We recommend to check the documentation coming with your router and follow their instructions. Typically this is accomplished in less than a minute from the router's control panel.
If you are unsure about what your public address is, simply check this website.
For more help on port forwarding we also suggest this website.
» SFS2X setup on a remote server
The steps described for installing SmartFoxServer on your local machine also apply for a remote installation.
After the setup process is complete we recommend checking your server's firewall settings and opening the following ports:
- TCP 9933: the main TCP port for multiplayer traffic
- UDP 9933: (optional) for UDP traffic, when needed
- TCP 8080: used for HTTP traffic, such as the AdminTool, Websocket and HTTP tunneling (BlueBox)
- TCP 8443: same as above but for HTTPS traffic


